1. Navigate to the Home Screen and click on the “Networks” button

2. Wait for the system to load the list of available networks

3. Click the "+" for the network that you want to connect to, enter your password, then click "Connect"

4. Click "Ok"
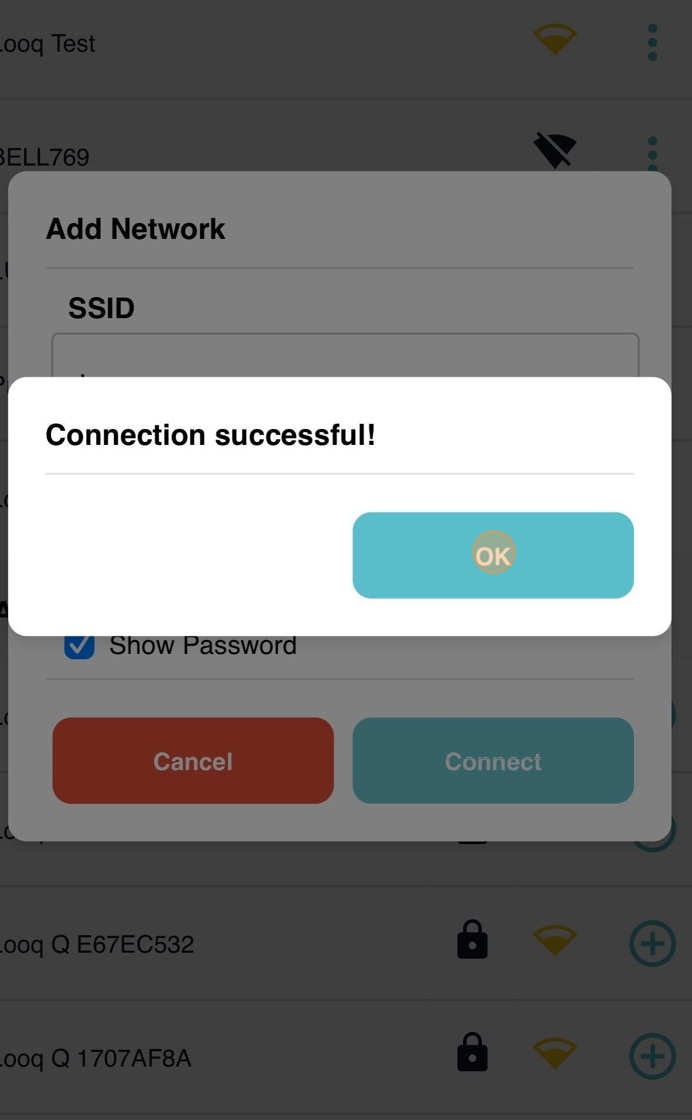
You are now connected!
This will allow you to upload your captures directly from the qCam to our secure cloud environment.
5. The new network will now be listed under "Saved Networks"

6. To remove this network, or connect to a different network, click on the menu option on the right-hand side. Select "Forget" to disconnect and remove it permanently from the list of saved networks, or "Disconnect" to disconnect from the network but leave it on the list.

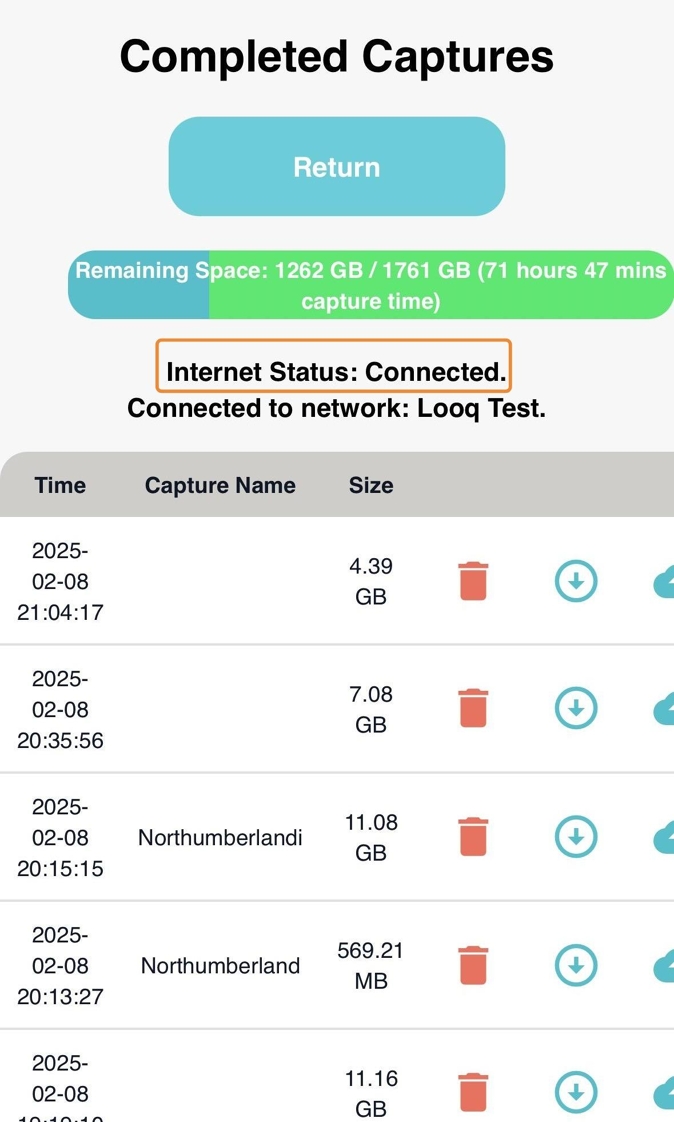
7. Return to the Home screen and select "Saved Captures"

8. You will now be able to upload your captures. The connectivity status is also monitored from here, please ensure that the internet status is "Connected" before starting an upload.